Sunday, January 24, 2016

Mostachon

Last week one of my coworkers had a birthday.  Another awesome coworker brought a cake to celebrate.  It was a Mostachon cake.  These sweet coworkers offered me a piece of this amazing cake.  I'd  never heard of it before and it's unlike anything I've ever tried.  It was delicious and refreshing.  The best way for me to describe it is a sort of take on a cheesecake, but less dense and much lighter.  I decided immediately that I wanted to try to make this if I could find a recipe.  So I googled.

The first recipe that came up was a post on Food Network's website by Marcela Valladolid.  It seemed pretty easy, so I decided to give it a whirl.  Here we go:

Ingredients:


Cake:Nonstick cooking spray4 egg whites1 cup granulated sugar1 teaspoon vanilla extract1/2 teaspoon baking powderPinch salt1 cup chopped walnutsOne 15.8-ounce pack Maria crackers, chopped

Frosting:8 ounces (1 cup) cream cheese1/2 cup sour cream1/2 cup powdered sugar1 teaspoon vanilla extract1 1/2 pounds sliced fresh strawberries, for garnishing

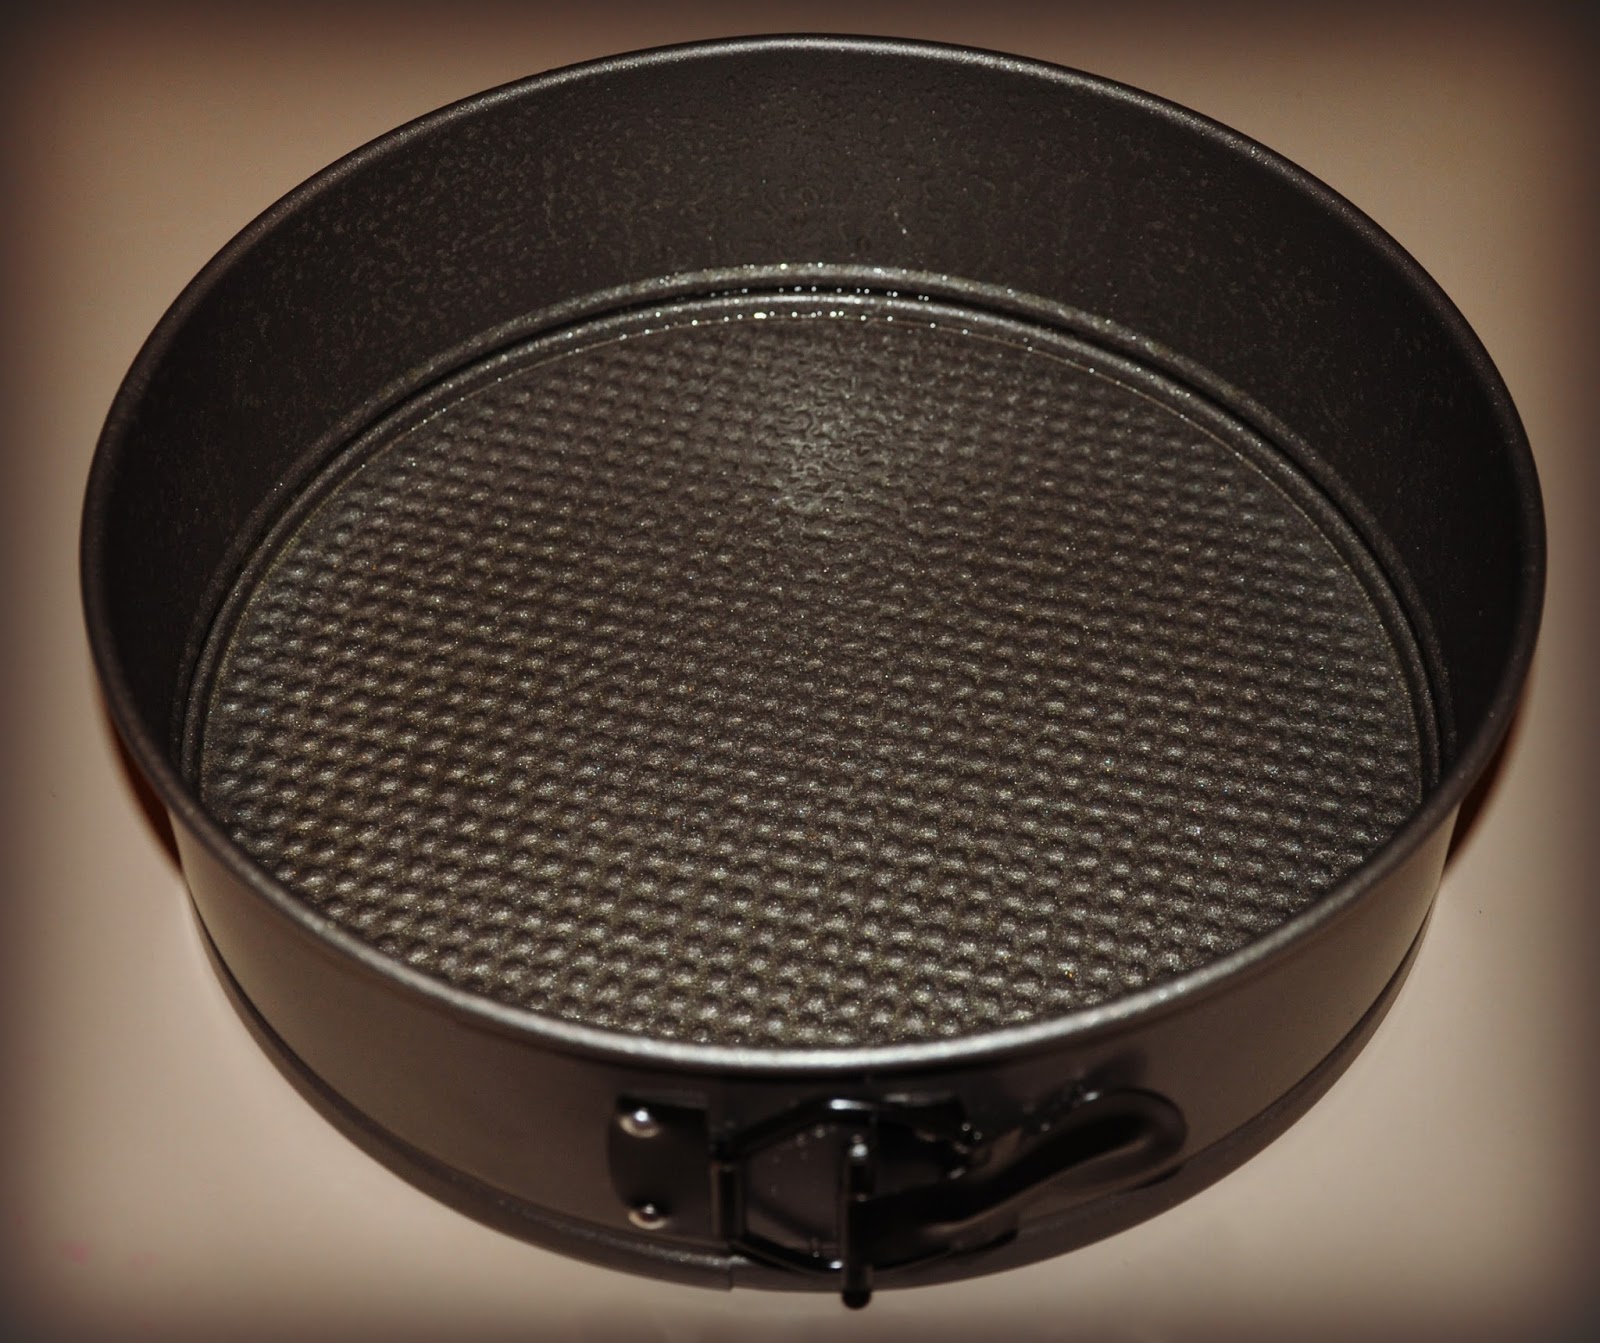
Now a few words about equipment.  You need an 8" springform pan for this recipe.  I'm sure you know what that is, but in case you don't this is what it looks like:


The first step is to separate 4 egg whites.  I didn't get any pictures of this, but it's a simple procedure.  Any time I am working with egg whites to create a meringue, I switch out my "normal" paddle attachment for my whisk attachment on my Kitchenaid.  This attachment comes with all Kitchenaid mixers.  I'm sure you know what I'm talking about, but just in case here it is:


So whip the eggwhites.  I almost left this picture out because egg whites look like snot:


As the egg whites beat, gradually add in one cup of granulated sugar.  Then add baking powder, vanilla & salt.


While that is doing it's thing, turn your attention to the Maria crackers.  I had never heard of these either, but I found them at Walmart.


When you open the package, you smell amazingly nutty buttery goodness.  It was tempting to just eat the cookies and abandon the whole baking thing.  But I didn't.  So you add the crackers (the recipe called for one 15oz package, but I only found 5oz packages so I used three of those) and chopped walnuts to a baggie and roll your rolling pin over it to crush them up.


Then check on your meringue.  When you stop the mixer and dip a spoon into the mixture, when you pull the spoon away a stiff peak should form in your bowl.  Like this:


And when you pull the whisk out of the meringue, it's pretty stiff also:


One more clue that your meringue is ready, it will have a shiny texture to it.  I don't think I did a great job capturing that in this moment, but I tried.


Fold in your crushed up cookies and nuts.


Then press the mixture into your greased springform pan.


It's hard to tell, but the meringue still has a wet texture at this point.


Then bake at 350 for 30-40 minutes.


Let the cake cool for 15 minutes, then remove it from the pan and transfer it to a serving tray.


Now it's time to make the frosting!  Add cream cheese, sour cream, powdered sugar & vanilla to the mixer and switch back to the paddle attachment.  Mix until smooth and creamy.


Spread onto the cooled cake.


Then slice some fruit and add to the top of your cake.  Isn't it gorgeous?  The prince pointed out that I laid my fruit out crooked.  And he's right, but I think I did pretty good for my first attempt.  I could hardly wait to slice into it and try it!


Here is my first slice:


My crust/cake layer is probably twice as thick as the one we tried at work.  I think the next time I make this recipe I will make two crusts, the same diameter.  Having said that this one is more "cake-like" and delicious!  I thought it was going to be too crunchy and hard to eat, but I couldn't have been more wrong.  It was soft and easy to slide your fork through, but still a bit crunchy.  The perfect texture.  I'm pretty happy with the results and looking forward to experimenting with different types of fruit and other toppings. Maybe all sliced strawberries and a drizzle of chocolate for Valentine's Day?  The possibilities are endless, but one thing is for sure.  The completed dessert is showstoppingly beautiful and will surely wow your friends and family once they taste it.  I think this might be my new "go to" dessert when I'm asked to bring one to a party.  It's easy to make and is a delicious change of pace. You should try it too!  To read the entire recipe I followed, click here.

Sunday, August 2, 2015

Raw, Eggless, Flourless Chocolate Chip Cookie Dough (or, You did WHAT to my chickpeas?)

Yep, chickpeas.  Yep, no bake.  Keep reading!  :)  I decided it was time to get better acquainted with my pressure cooker.  I have a Cuisinart electric pressure cooker that I got at Williams Sonoma a few years ago.  I've used it, with much success, several times, but I always forget about it.  Before those of you that know me get worried that I'm going to blow myself up, the electric pressure cooker comes with built in safety features.

So I love a good theme, and I stumbled about several chickpea recipes I've been wanting to try so I decided to dub this upcoming week "Celebrating the Chickpea"  or "Gaga for Garbanzos," I couldn't decide which one was better.  I bought 4 pounds of dry, plain jane chickpeas at Sprouts:
The instruction manual for my pressure cooker says not to fill it more than 1/3 of the way full when cooking beans.  It also gives instructions for cooking one pound at a time, with 8 cups of water.  I read in another recipe to use 3 cups of water to every one cup of beans.  I also read that one pound of uncooked chickpeas is about 3 cups.  So I decided to cook them one pound (3 cups) at a time, with 3 cups of water, a couple of bulbs of garlic, some absolutely onion wildtree seasoning, some garlic galore wildtree seasoning and wildtree rancher's rub, for 55 minutes using the quick release method.  They turned out perfectly.

I was surprised to find a lot of sweet recipes using the gorgeous garbanzo.  Not only is it a good meat substitute, it's also a great flour substitute.  But what really drew me to this recipe was my family.  My cousin Cyndi has a love for raw cookie dough.  I suppose most of us do, but I won't eat it raw because as a child, my mom told me not to because it had raw eggs in it.  That was enough to scare me out of sticking my finger in the bowl or licking the beaters.  My cousin Cyndi however is a fearless rebel who will just go for it. She's just cool like that.  So when I saw an eggless, not ever meant to be baked cookie dough, I had to try it.  So I scrolled down to read the ingredients.  It has chickpeas in it?!??  What?  And no flour or sugar?  After my shock wore off, I decided it was worth a whirl.  I added to the snack/dessert category for recipes to cook this weekend for the upcoming week.  How cool and decadent will it be to have a couple of spoons full of raw cookie dough after dinner?  So here we go, eggless, flourless, healthy-ish raw cookie dough.  First our ingredients:
2 cups cooked garbanzo beans (or 1 15oz can), drained
1/2 cup of peanut butter
2 tbsp of honey (I added a little extra)
1 tsp of vanilla
1/2 cup chocolate chips (the original recipe called for dark chocolate, I used milk)

Put all of the ingredients, except the chocolate chips in the food processor:

And blend until smooth.  Put the "dough" into a bowl and fold in the chocolate chips.  I added a few extra to the top to make it look pretty:
I fed an unsuspecting boyfriend a spoonful this morning and asked him what it was.  He said "Mmm, cookie dough?"  :)  It doesn't taste EXACTLY like cookie dough with all of the bad for you ingredients, but it is a good fake out and it DOES NOT taste like chick peas.  He was shocked when I told him I'd used them in the recipe.  It was quick and easy, and you should try it and see who  you can fake out.  :)


Tuesday, September 18, 2012

Pinkies!!!

I know what you must be thinking.  Nothing for over a year and then BAM! two posts in one day.  And to that I say: Stop complaining and enjoy the beauty that is this yummy recipe!  I saw this on Pinterest.  It was called Strawberry Brownies.  The Prince is a fan of strawberry desserts, so I decided I should give it a whirl.  When I served him one after dinner and proudly said, "These are strawberry brownies!"  He looked at it and said, "You mean pinkies?"  Not only is that name infinitely cuter, it is in fact more appropriate.  So pinkies it is, and here is how you make them...


Ingredients:
a strawberry cake mix
1/3 cup of oil
2 eggs
1 cup powdered sugar
1 1/2  tablespoons of milk or water

Mix the cake mix, oil and eggs...


Mix the ingredients until it becomes a sort of hard to stir ball of dough.  The recipe said that it would be thick, and this was not an overstatement...


Press the dough into a 9x13 pan...


Bake at 350 for 14 minutes.  That seemed like a very odd, specific time to me, but it was perfect!  They were done at exactly 14 minutes.  Now to make the glaze!  Did I forget to mention there is a glaze?  Well, there is!  In a small bowl combine the powdered sugar with milk or water, your choice.  We split the difference and used half and half...


Stir until you get to this consistency...  I had to add some extra half and half, so just kinda eyeball it...


Spread the glaze on top of the pinkies, cut, serve and eat!  Look how pretty they are...


This is another easy, few ingredient recipe but it was really tasty!  If you don't share the recipe, no one will know how easy it was.  I thought they were the perfect balance of rich, sweet and dense but not too dense.  Try them and let me know what you think!